Reference defect
Reference defects to check for cracks and pores
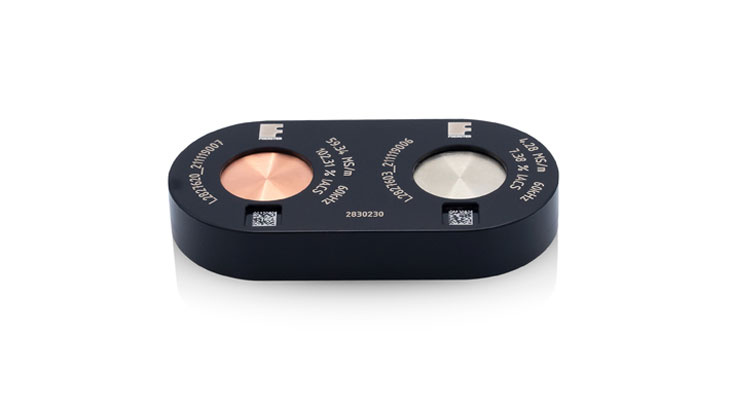
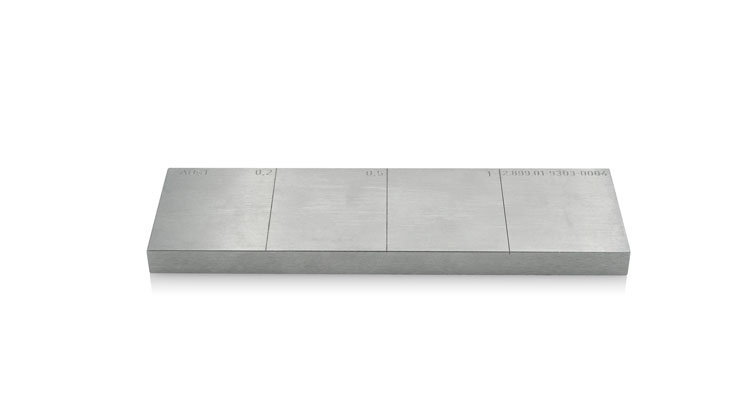
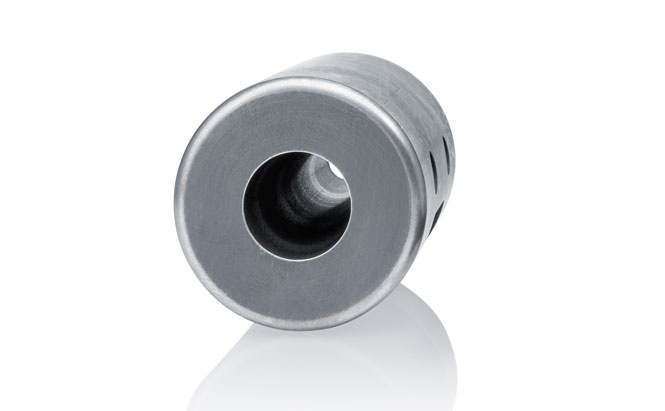
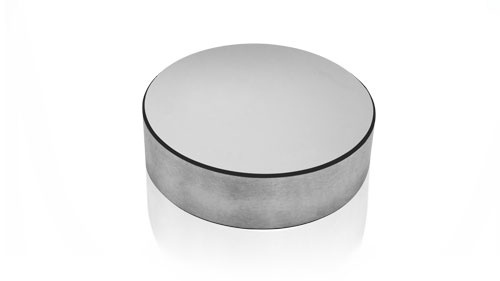
Accurate setting and checking. For the exact setting and the cyclic inspection of eddy current test equipment, setting masters of the test parts with reference defects are required. Natural defects cannot be used for this purpose, as they are not reproducible and often do not exist.
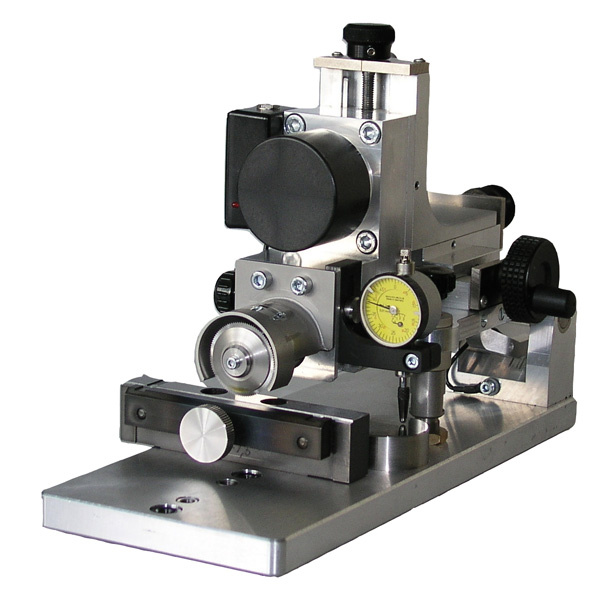
FOERSTER can use the die-sinking EDM process to introduce reference flaws into your workpiece for testing of cracks and pores.
National and international standards or corresponding customer specifications apply as defaults. The setting defects are measured and subsequently receive a certificate according to DIN EN ISO 9001.
For better documentation, the setting masters can be engraved or clearly marked with laser.
Technical information
| Defects | |
| Width: | 0.04 mm – 1.0 mm |
| Depth: | 0.02 mm – 5.0 mm |
| Length: |
0.50 mm – 40.00 mm (other dimensions on request) |
| Pores | |
| Size: | Ø 0.2 mm – 3 mm |
| Depth: | 0.02 – 5 times diameter (further dimensions on request) |
| Borehole | from a diameter of 0.2 mm - depending on material thickness and properties |
